

The Doctor has many enemies throughout time and space, but there is only one that seems impossible for the Doctor to defeat. The Daleks have been around since the beginning of the Doctor Who world and they are one of my favorite foes. In this week’s tutorial I will show you how to make a Dalek to terrify your Doctor Who friends!
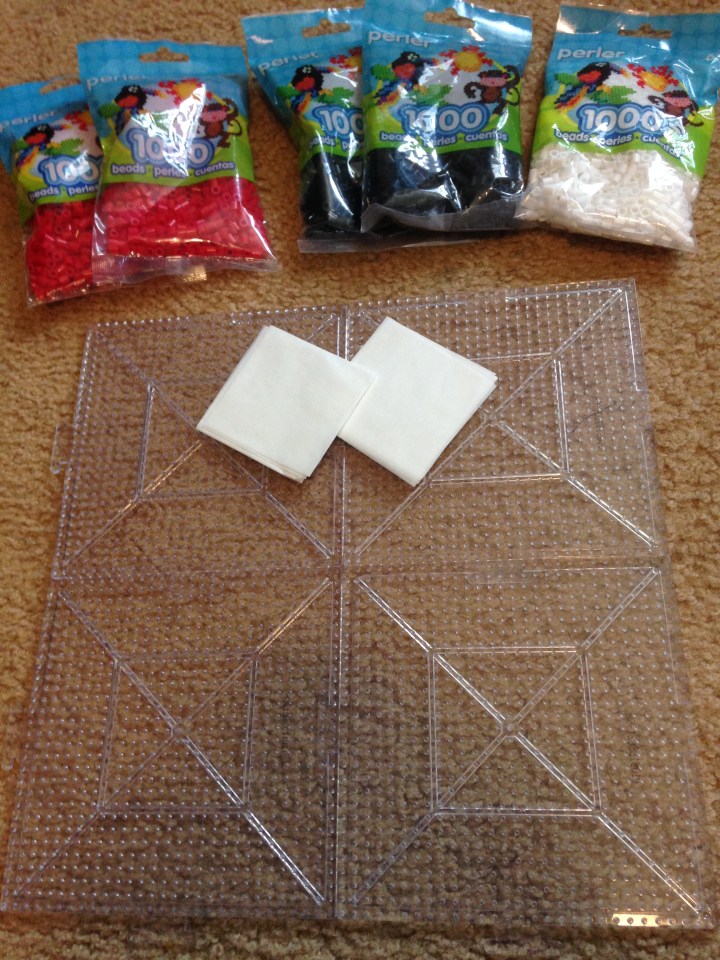
For this project you will need:
- Black, red, and white perler beads
- perler board
- parchment paper
- clothing iron
If you are wondering what perler beads are you are not alone. I’ve only known what they were for a couple of years. But when I discovered how popular it was becoming, I realized I had seen this craft before. When I was a kid, I did these bead kits all of the time. They are those litle beads that you put on a spikey board and then using a clothing iron, you melt the beads together making your design permanent! They have made a huge come back and I have seen some pretty amazing artwork online!
To start out, you will need a pattern to reference for your Dalek. I just googled “Dalek perler bead pattern”. For the purpose of this tutorial, this is the pattern that I used, but feel free to use a different one if that’s what you like!

Each colored square represents one bead. I didn’t go with this color scheme, but if you like the colors, feel free to follow the pattern exactly as shown! To make it easier, I did one row at a time starting from the bottom of the pattern and going from left to right. Using this as a reference should make it easier to know where you are in the pattern. This peticular pattern is 33 rows tall by 28 rows wide so make sure your perler board is at least that big to accomodate all of your beads!


Once you have completed the pattern, it is time to fuse the beads together. Take your parchment paper and place it on top of your design. Be careful not to move it around too much because we don’t want to mess up the design and lose any beads! Heat your iron to a medium high heat. Once it’s warm enough, place it on top of the beads. To prevent your beads from melting too much or too quickly, move the iron around in a circular motion. Be patient for this part. It takes a few minutes for all of the beads to be sufficiently melted together.

When the one side is melted together, let it cool down before you remove it from the perler board. When it’s cooled down, take your design carefully off the board and flip it over. Repeat the melting process on this side as well to make sure that all of your beads are secured to each other! Let it cool down completely before handling. I placed a weighted box on top while it cooled to prevent my Dalek from warping as it cooled down. And that’s it! You are all done and ready to EXTERMINATE!

I loved this project! It was so easy to do and it didn’t take much time at all to finish. It was pretty inexpensive which I am all about. I’m definitely going to be making more of these in different colors. I’m also thinking of making some other Doctor Who foes along with the Tardis. These can easily be turned into magnets or ornaments. Go crazy and have fun!
Share your comments about this geeky craft below! You can also tweet me @luckynerdgirl using #TheCraftyGeek with ideas for future episodes!
Follow @thenerdygirlexp for all your nerdy entertainment!
